
So you bought a Raspberry Pi and aced through Raspberry Pi OS’s installation process, and in the end, didn’t like it? The open-source community has plenty of other options for you like Ubuntu-mate. In this article, let’s see how you can install Ubuntu-mate on Raspberry Pi 4.
The problem with the Raspberry Pi OS is — it’s still a 32-bit OS. Hence, if you intend to use Pi to run desktop applications, 64-bit OS is the way to go.
Why Ubuntu MATE And Not Ubuntu?
GNOME on Ubuntu is hardware greedy, whereas MATE consumes lesser hardware resources. Although the 4GB Pi variant should be enough, the performance was average at best.
While idle, Ubuntu consumed over 1.2 GB of RAM. After firing up two Chromium tabs, app store, and two instances of the terminal, the average memory consumption bumped over 3.2 GB, and the Pi started lagging. However, the peak temperature never crossed 52℃, thanks to the fan accessory that I got in the kit.
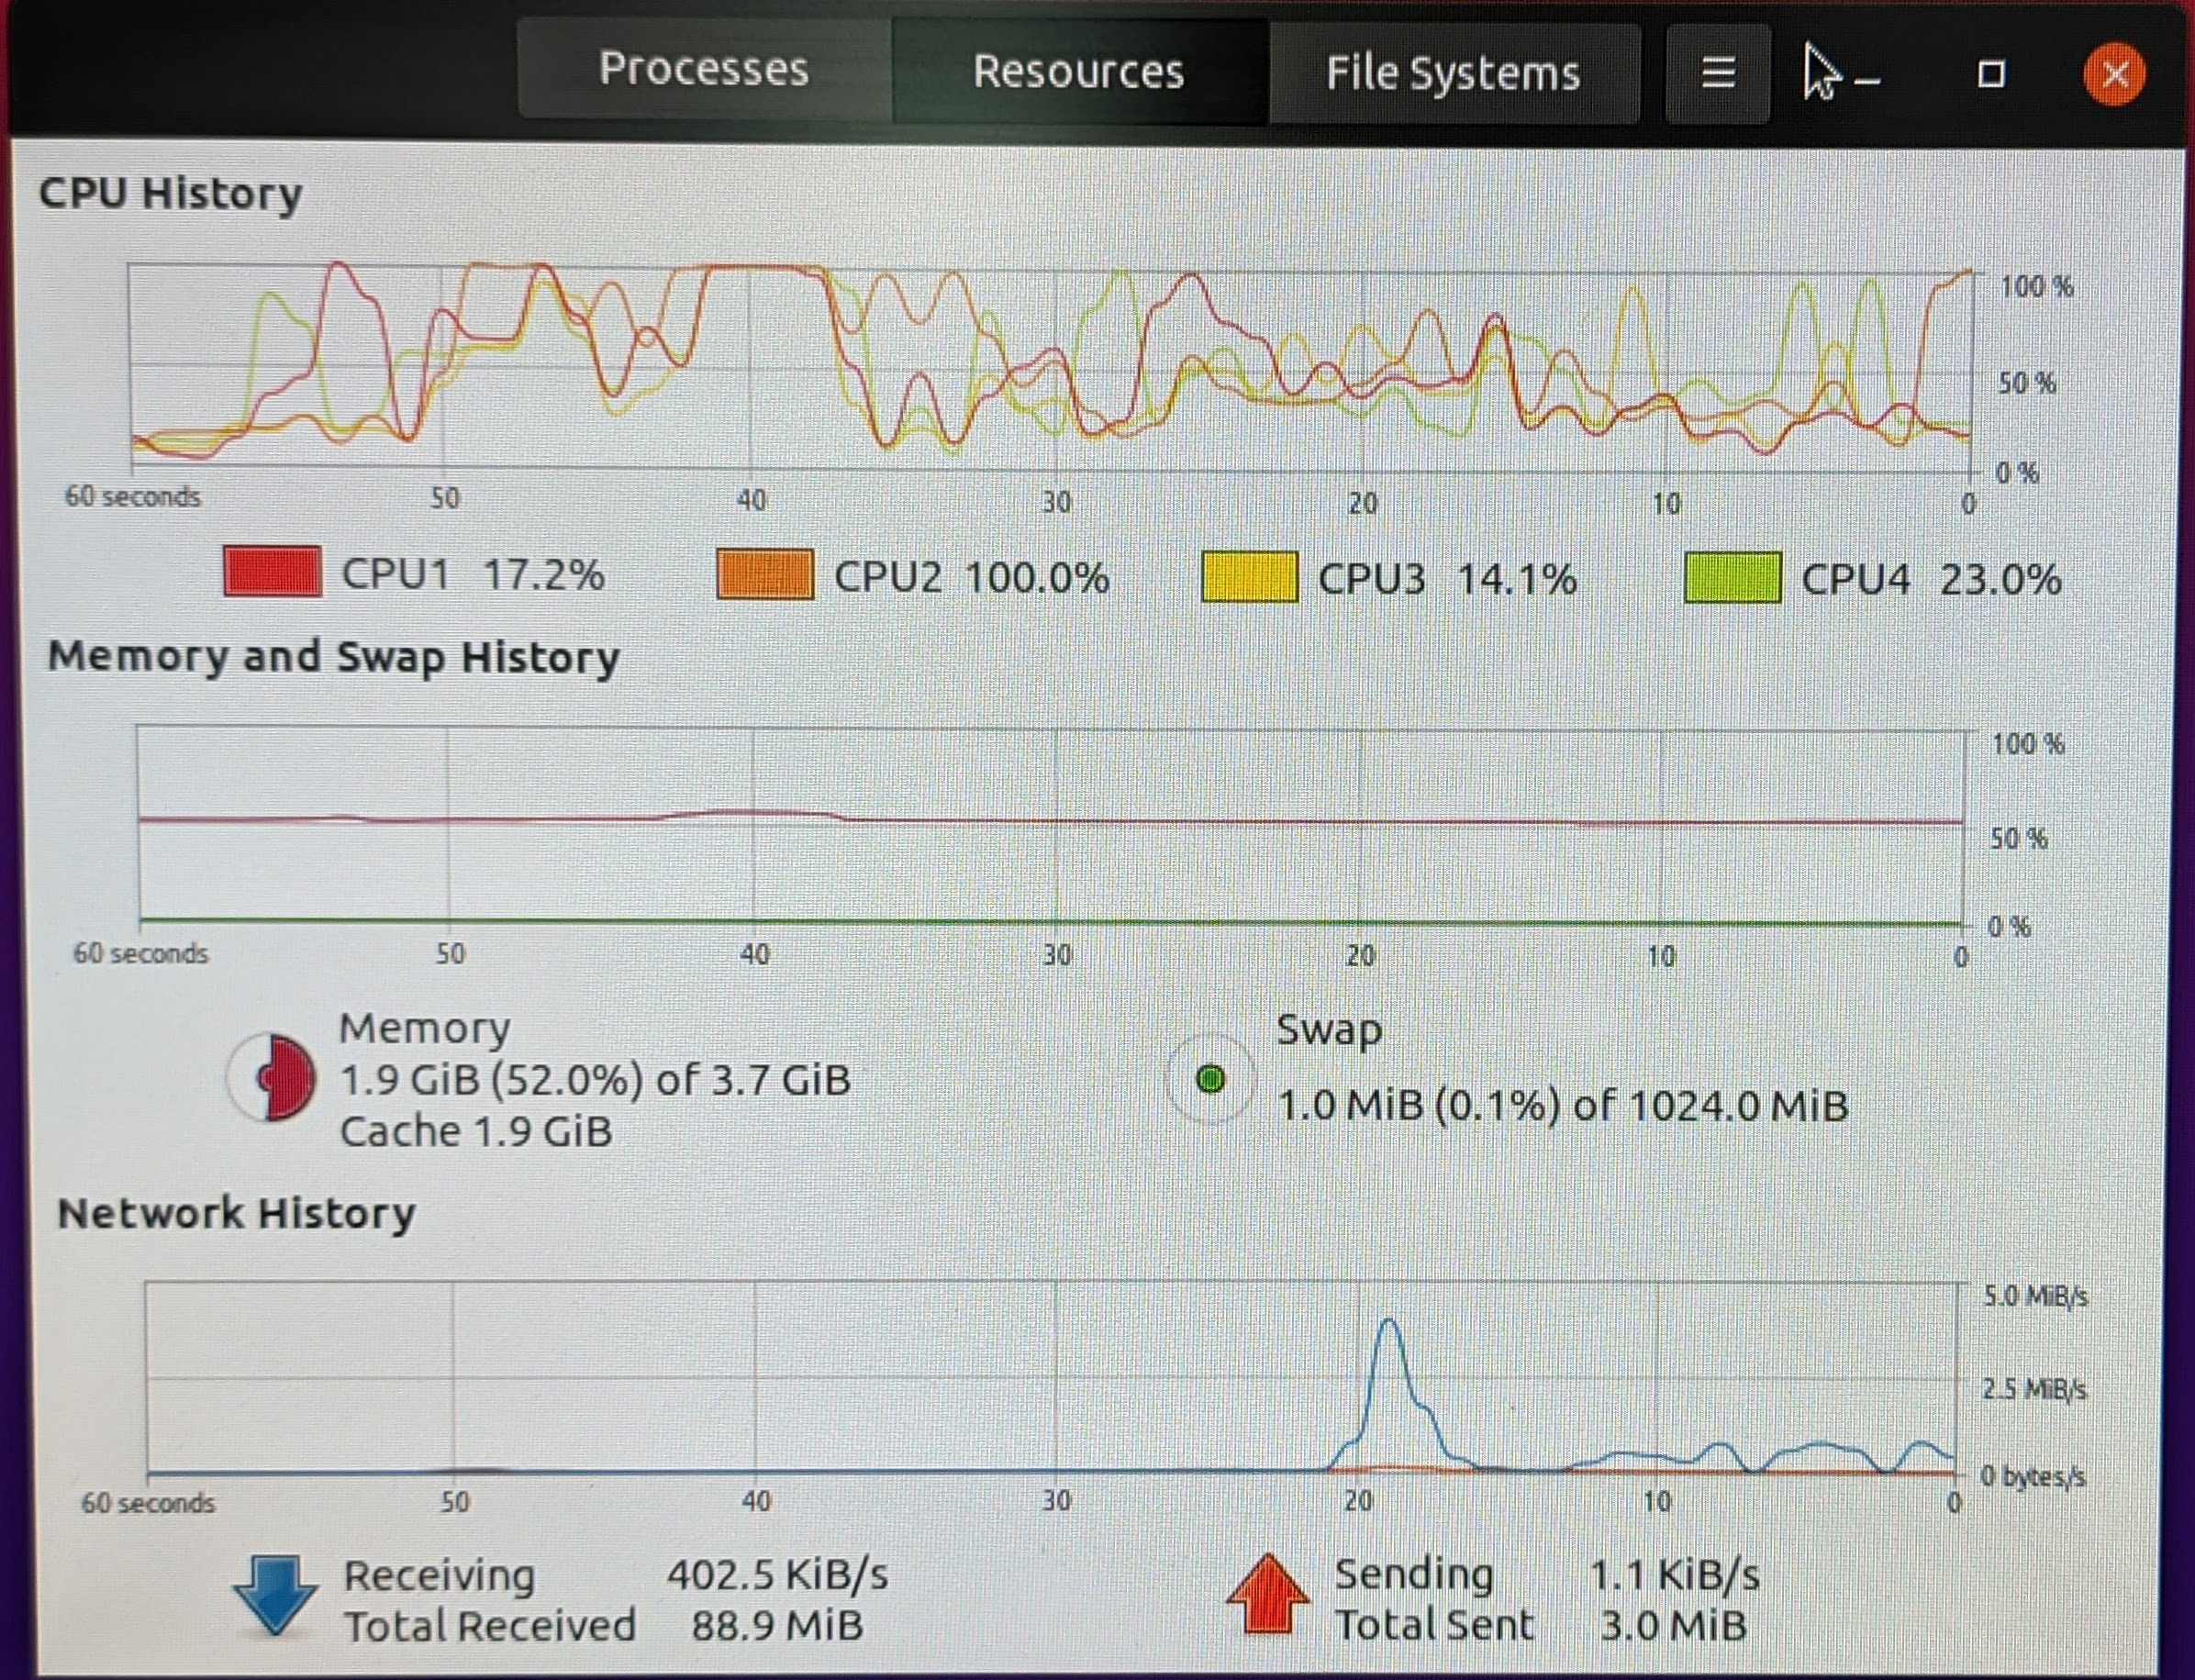
Whereas, in MATE, the idle RAM consumption was significantly lower at just 700 MB. Opening the same set of apps as above, the RAM consumption was between 2.2-2.7 GB. The bottom line is, get the 8 GB variant if you’re buying the Raspberry Pi 4 for Desktop computing and if you’ve already bought the 4 GB variant, use Ubuntu-mate.
This is no way means that Ubuntu-mate runs very smoothly on Pi. After all, there’s only so much you can do on Pi’s hardware. If light desktop computing is what you’re installing Ubuntu-mate for, then you’ll have no issues.
Anyways, let’s leave the rest of the features for our Raspberry Pi 4B review that’s coming shortly. Let’s get started with the installation process.
Install Ubuntu MATE On Raspberry Pi 4
Things Required
1. A fast MicroSD card with SDHC adapter/USB Reader
2. A Windows or Linux machine
3. Raspberry Pi Imager Software
4. Ubuntu-mate Image file for ARM
5. A Raspberry Pi 4 with at least 4GB RAM
6. A monitor, keyboard, micro HDMI to full-size HDMI cable, official Raspberry Pi charger, and a Type-C cable.
7. Patience.
- Extract the Ubuntu-mate image
To extract the image, use the following command.
$ unxz “name of the image”.xz - Download the Raspberry Pi Imager
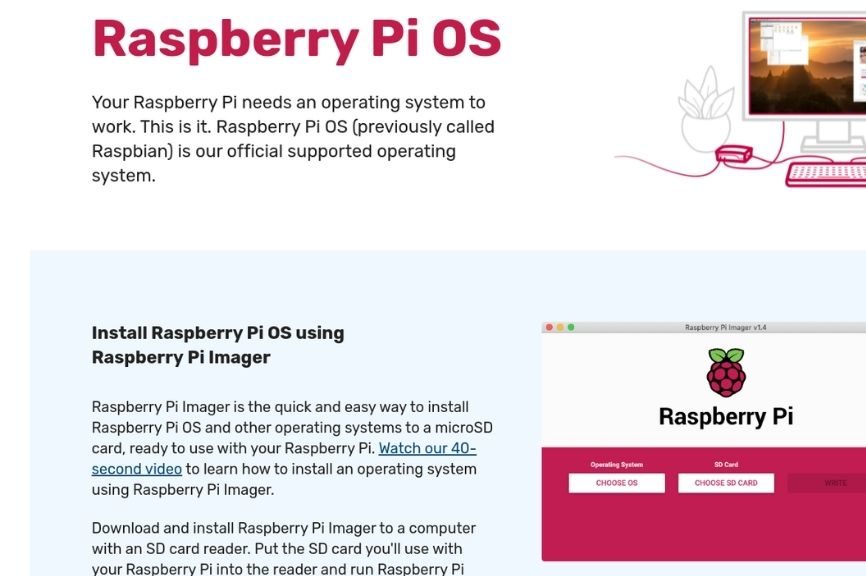
For starters, the Raspberry Pi imager is a tool used to flash OS images onto the SD card to be used in the Pi. You can download the tool for both Linux and Windows from the official Raspberry Pi downloads website. You can also use the command “sudo apt install rpi-imager” to install it on Ubuntu.
- Install the Raspberry Pi Imager
Once the download's complete, double click to install the software.

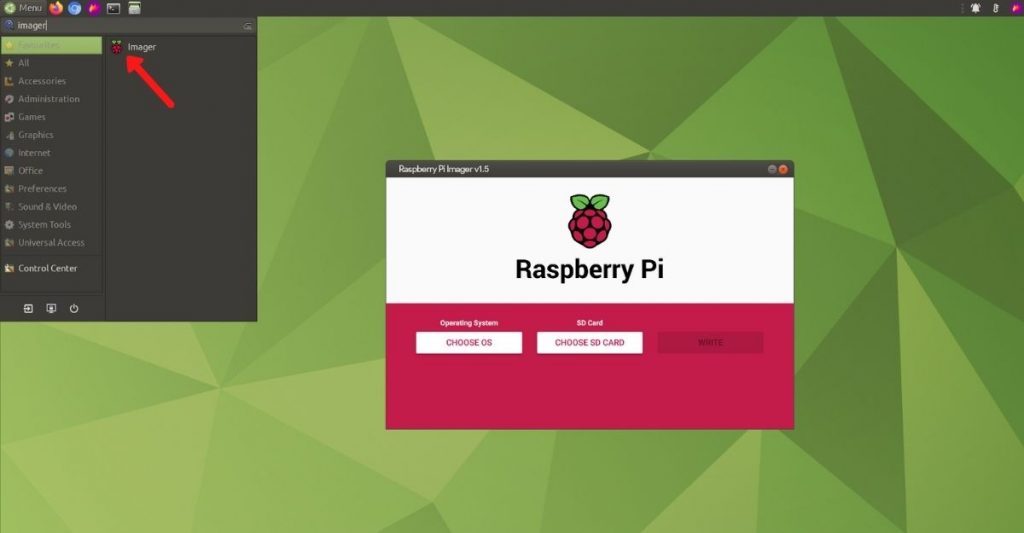
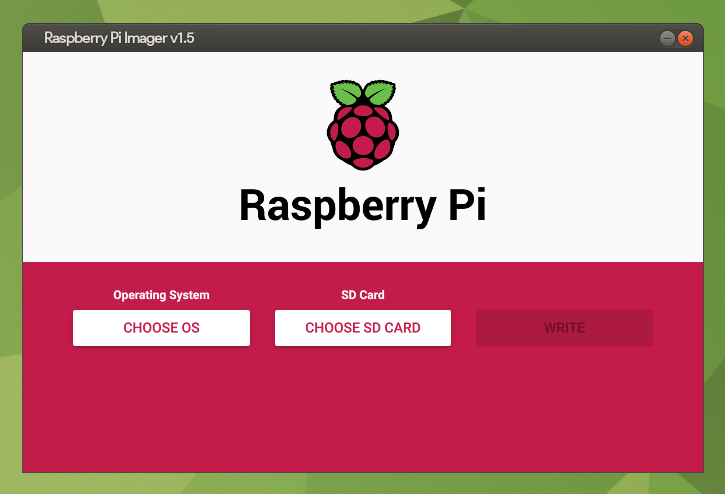
- Open Raspberry Pi Imager
Find the “Imager” app in your app list with the Raspberry logo and open it.
- Flashing the SD card.
Now, insert the SD card into an SDHC adapter or a USB card reader and connect it to your PC. In the Raspberry Pi imager, select the SD card that you want to flash. You can also use other flashing tools like Balena Etcher.
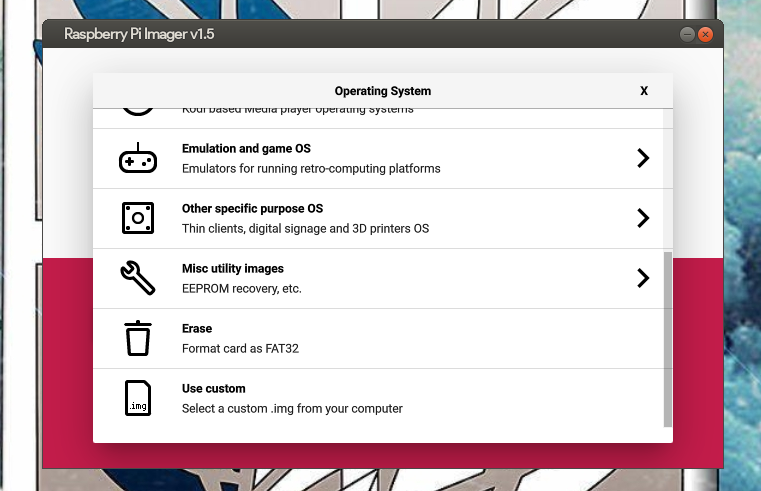
- Use the “Choose a custom image” option
In the long menu that appears when you click on the “Choose OS” option, scroll all the way down and select the “Choose a custom Image” option
- Final step
After selecting the image, click on the “Write” button in the imager. The flashing process might take 15-20 minutes or longer depending on the speed of your SD card.
- Insert the SD card into your Raspberry Pi 4
Before powering the Pi, make sure you've connected the Micro HDMI cable to the first micro HDMI port and accessories like keyboard and mouse. Refrain from touching the board and use the provided case or buy if you don't have one. By touching it with bare hands, you might end up short-circuiting the board.
- Installing Ubuntu-mate
Wait patiently until you see MATE's splash screen. Following the installation steps is pretty easy. All you need to do is click Next, and the installer will get everything done for you.
After the installation’s done, fire up the terminal using the key combination Ctrl+Alt+T and type the following command.
sudo apt update && sudo apt upgradeThis will update all the applications and repos and might take a lot of time.
That’s pretty much it with the installation process. Since a Raspberry Pi uses SD cards to read the OSes, you can have many SD cards with different OSes that you can swap and use in the blink of an eye. Pretty cool, right?
Were you successfully able to install Ubuntu-mate? Let us know in the comments section below. Also, we’re brewing more Raspberry Pi content, so stay tuned!
The post How To Install Ubuntu MATE On Raspberry Pi 4? appeared first on Fossbytes.
from Fossbytes https://ift.tt/3smD6oJ
via IFTTT


No comments:
Post a Comment