
Chromebooks were primarily created to be used as secondary laptops for entertainment purposes and students but with the addition of Linux Terminal support, they’ve now gotten better use cases. In this article, let’s look at how you can install Linux on Chromebook to make the most out of ChromeOS.
For starters, Google’s ChromeOS is based on the Linux kernel; hence, it doesn’t take a lot of effort to enable the terminal on ChromeOS. Even though Linux for Chromebooks is still in Beta, in a few hours that we spent using it ran smoothly with no issues. Additionally, we’re also going to show you another way of installing Linux i.e using Crouton.
Install Linux on Chromebook
In this method, we install Linux by turning on the Linux (Beta) option from the settings. You will need at least 450MB free space for the installation to complete.
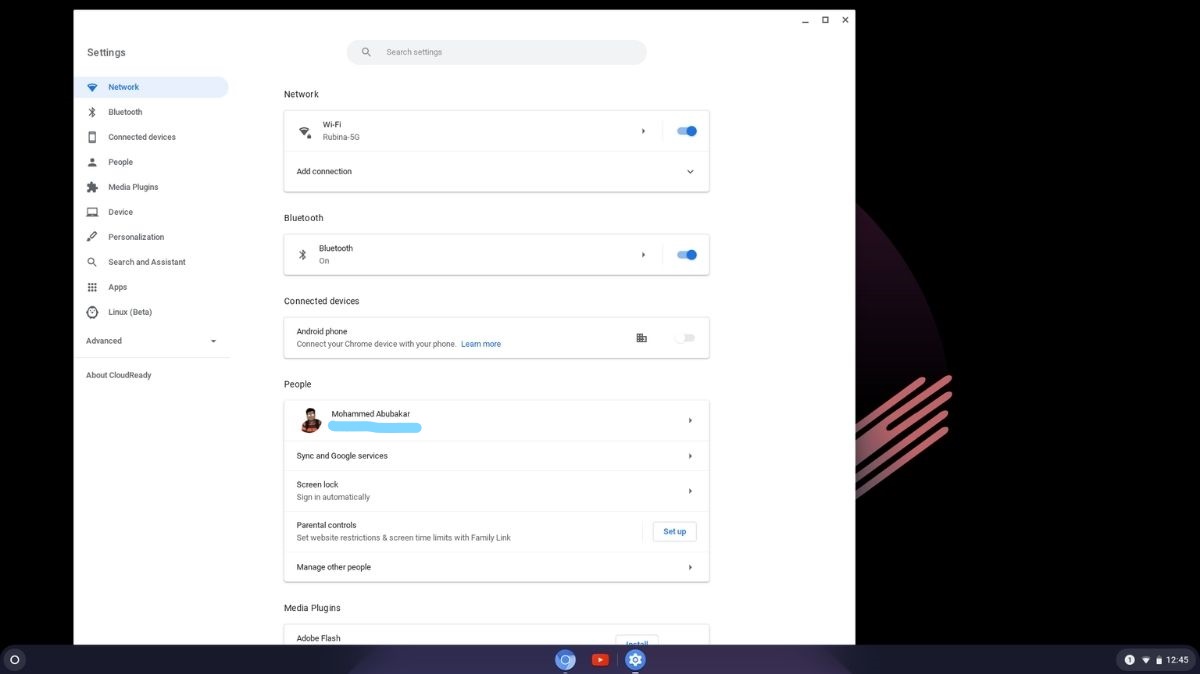
- Head over to the settings panel
You can do this by either going to the notification panel on the bottom right corner or from the apps list.

- Find Linux (Beta) option
Scroll all the way down in the settings to find the option and click on it.
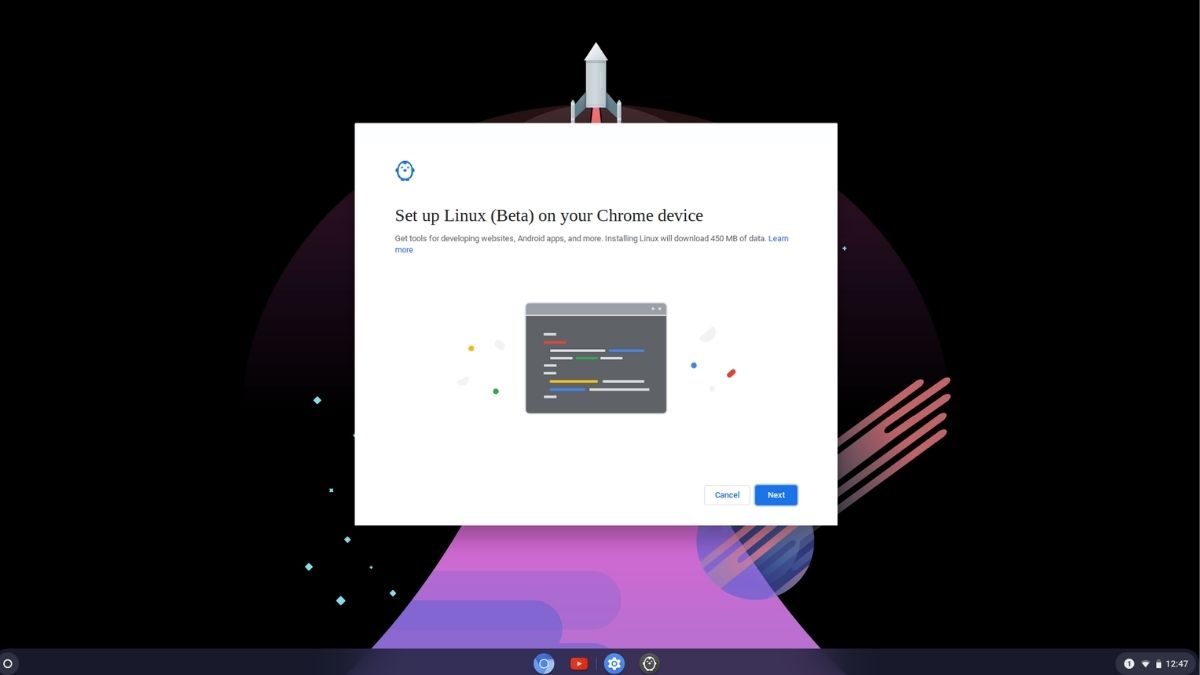
- Click “Turn on”
Give it some time to download the resources; by the end of the setup, you will have a Linux terminal using which you can install Linux Apps! Currently, Linux apps run in containers and could be too slow for your liking.

The ChromeOS Dual-Boot Mantra!
For those of you wondering if it is feasible to install Linux alongside ChromeOS, yes, it is! Thanks to Crouton. But, the only caveat is, you can only install Ubuntu but not other Linux distributions.
Dual-Booting Linux on ChromeOS has one great advantage. What is it? Unlike switching between Windows and Linux requires a reboot every time, switching between ChromeOS and Linux doesn't, saving a lot of time.
- Enable Developer Mode
All you need to do is hold down the Esc+Refresh keys and press the power button. Your Chromebook will boot into Recovery Mode.
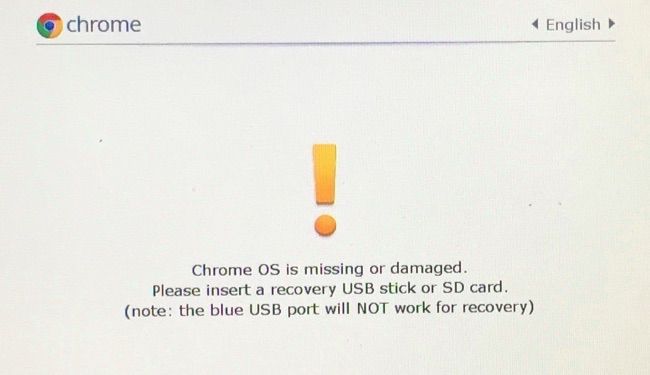
- You will see an error message when it boots into Recovery Mode
There's absolutely no need to panic at this point. Go ahead and press Ctrl+D to enable the developer mode.
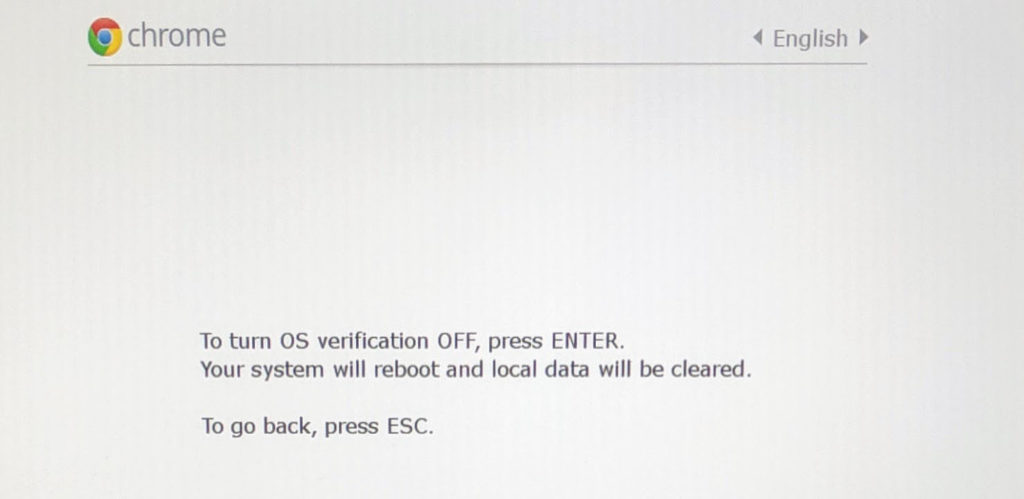
- Turning off OS verification
Chromebooks, by default, are locked from running non-Google approved operating systems. Press Enter to turn off OS verification.
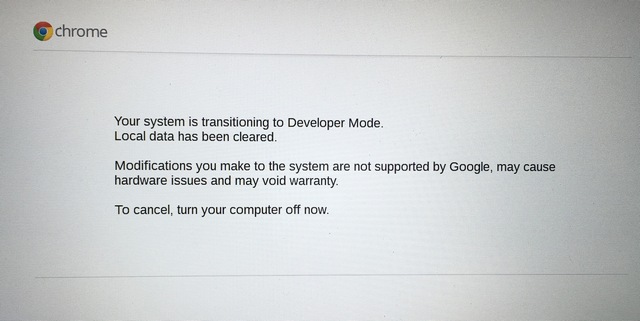
- Booting into Developer mode
If you see a laptop logo with an exclamation mark, press Ctrl-D to finally boot into developer mode.
You will see a message that says, “Preparing system for developer mode.” Your Chromebook may take up to 20 minutes to boot into developer mode.
- You have successfully enabled the developer mode
Once your Chromebook boots into ChromeOS, reconfigure it with your Google account.

Installing Linux
1. Head over to the Crouton repository by clicking here to download it.
2. Open the Crosh (Chrome Shell). This can be done by pressing Ctrl+Alt+T.
3. The terminal will open inside a Chrome tab. Then type the following command.
shell4. Then paste the following command and hit enter
sudo sh ~/Downloads/crouton -t kdeThe above command will run the installer and Ubuntu will be installed. You can replace “KDE” with Xfce, Unity and KDE touch, Xfce touch, and Unity touch for Chromebooks with touch screens.
Now, all you need to do is wait, and in the end, you will be asked to provide a username and password.
To start Ubuntu enter the following command
sudo startkdeTo switch between ChromeOS and Ubuntu, press Ctrl+Alt+Shift+Back/Forward.
If you don’t like it, you can easily remove it by following these instructions
- Open the Terminal using the key combination Ctrl+Alt+T
- Type Shell and press enter
- Type cd/usr/local/chroots and hit enter
- Then enter the command sudo delete-chroot
- At last, proceed by removing the directory by entering the command sudo rm -rf /usr/local/bin
And that’s pretty much it with the removal part.
Phew! That was quite a long journey, wasn’t it? Do let us know in the comments section below if you face any issues and we’ll guide you right away.
The post How to Install Linux on Chromebook? appeared first on Fossbytes.
from Fossbytes https://ift.tt/37HFrCQ
via IFTTT


No comments:
Post a Comment